Get Started with Tanaza
Don’t have an account?
Create your account
Step 1
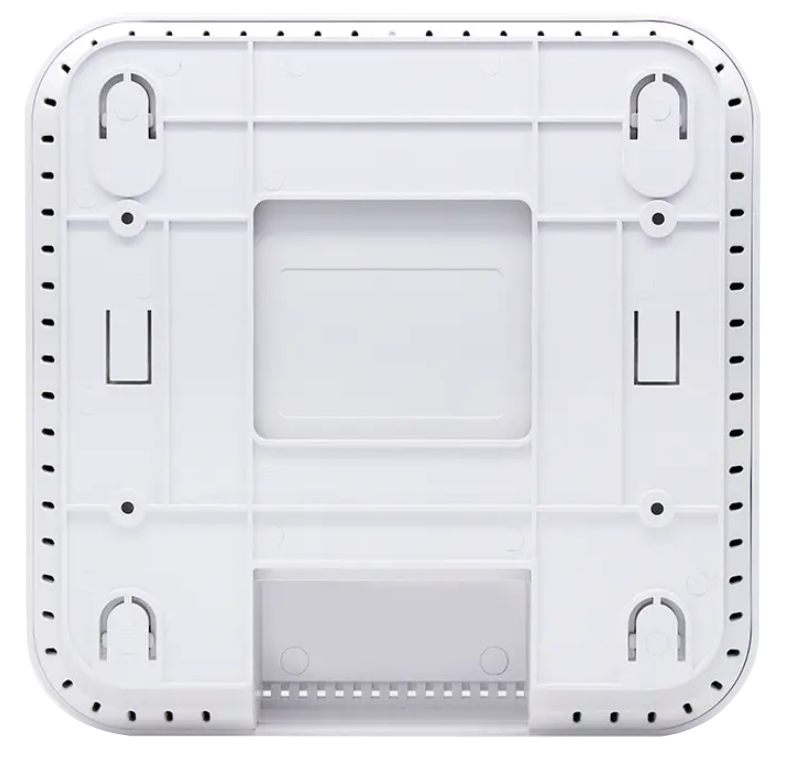
Plug in your Tanaza Powered Device
Step 2
Create your Wifi Network
Organize your access points into networks
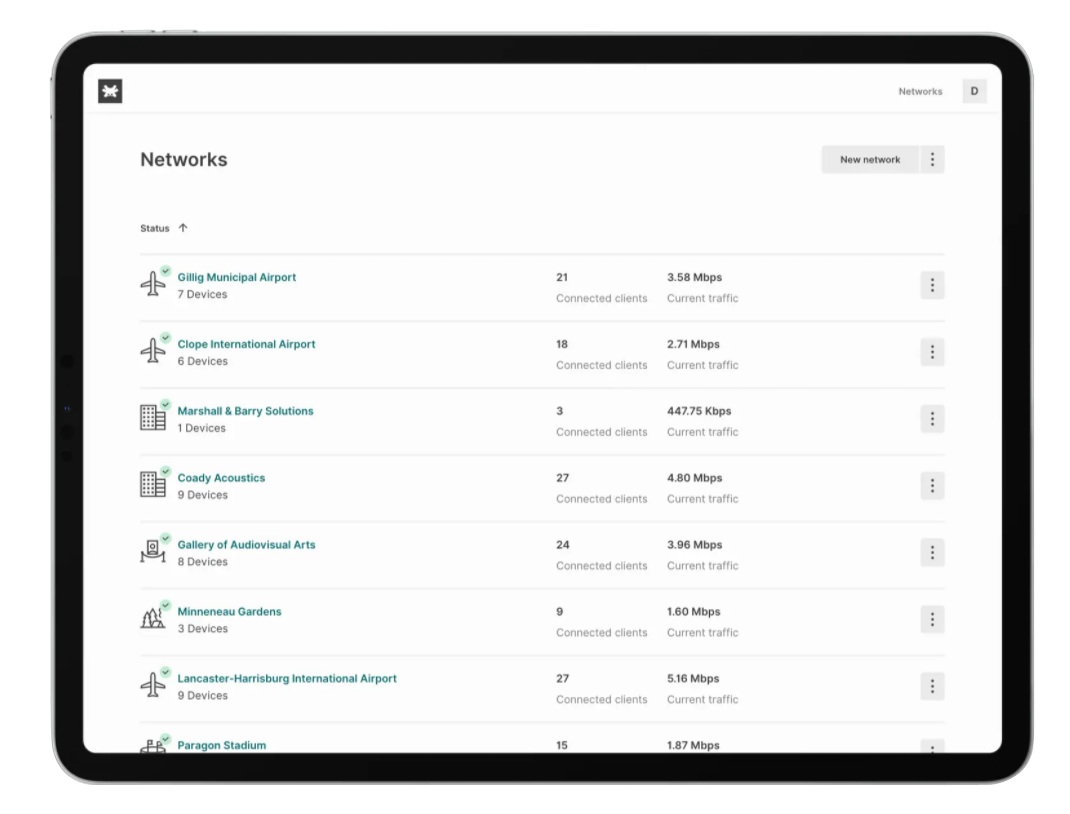
Once you have created an account with Tanaza, you can easily cluster your access points in one or more groups, called Networks.
A Network can contain any number of access points in single or multiple locations like a hotel chain, for instance. There’s no limit on the number of Networks that can be created, and no limit on the number of access points you can add to them.
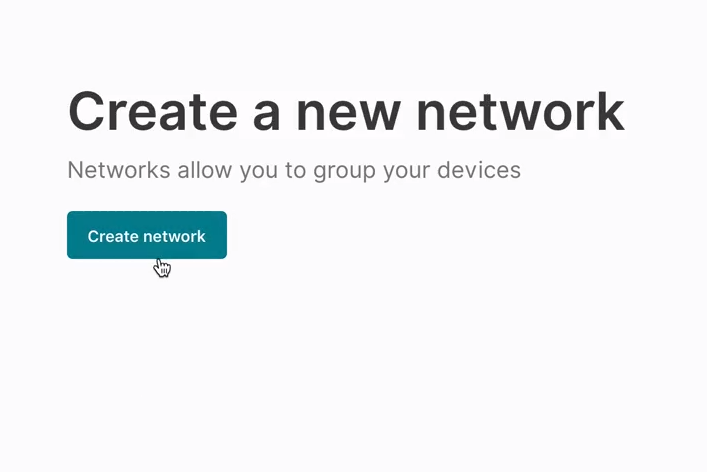
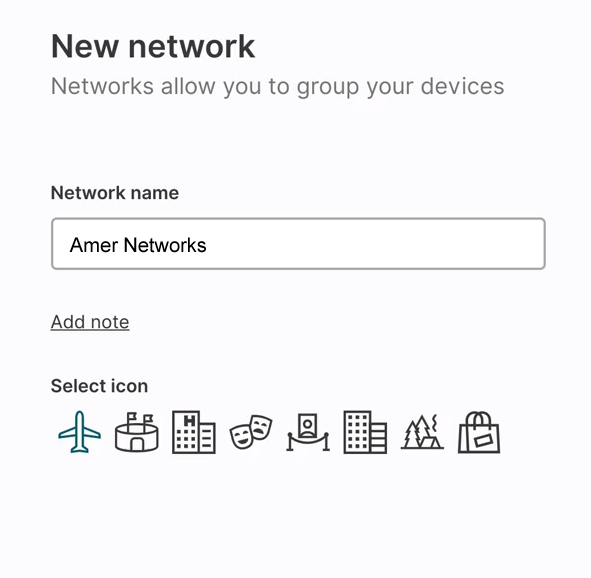
You are free to group them as you like, create Networks based on specific locations, or for a particular customer, including all of his venues. To create a new Network, click on the ‘Create Network’ button on the main page, select a ‘name’ and an ‘icon’, for easy sorting, and then click ‘save’.
Step 3
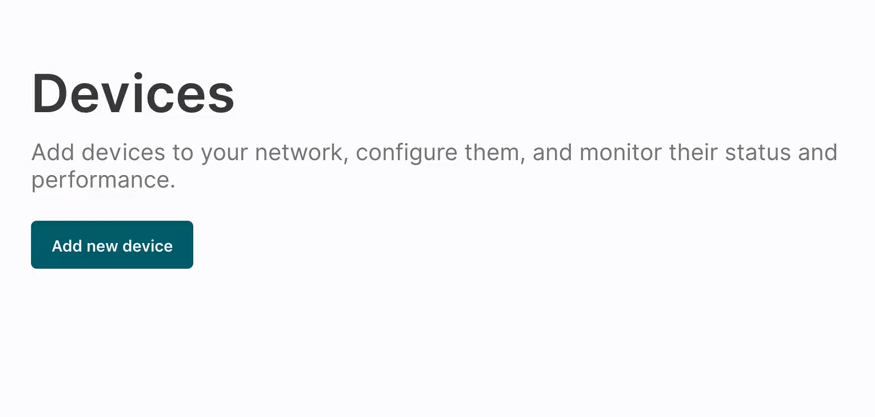
Add the Access Points
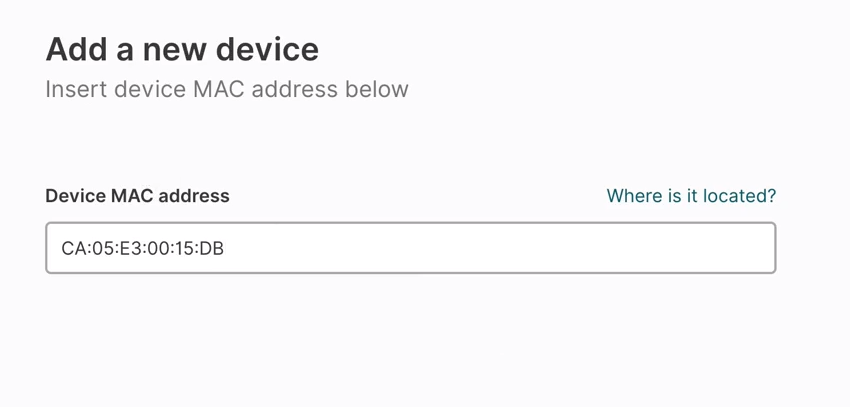
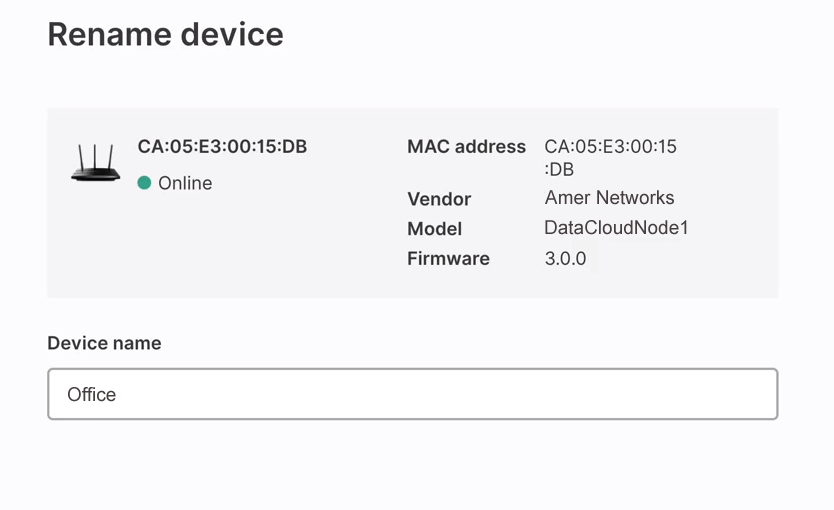
Add and configure online and offline access points
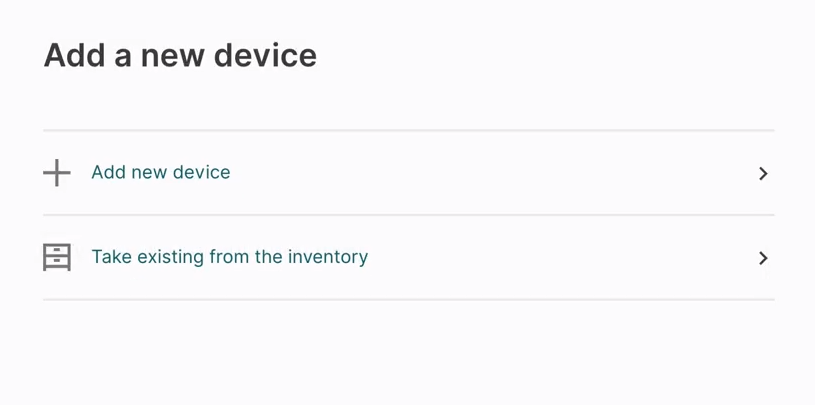
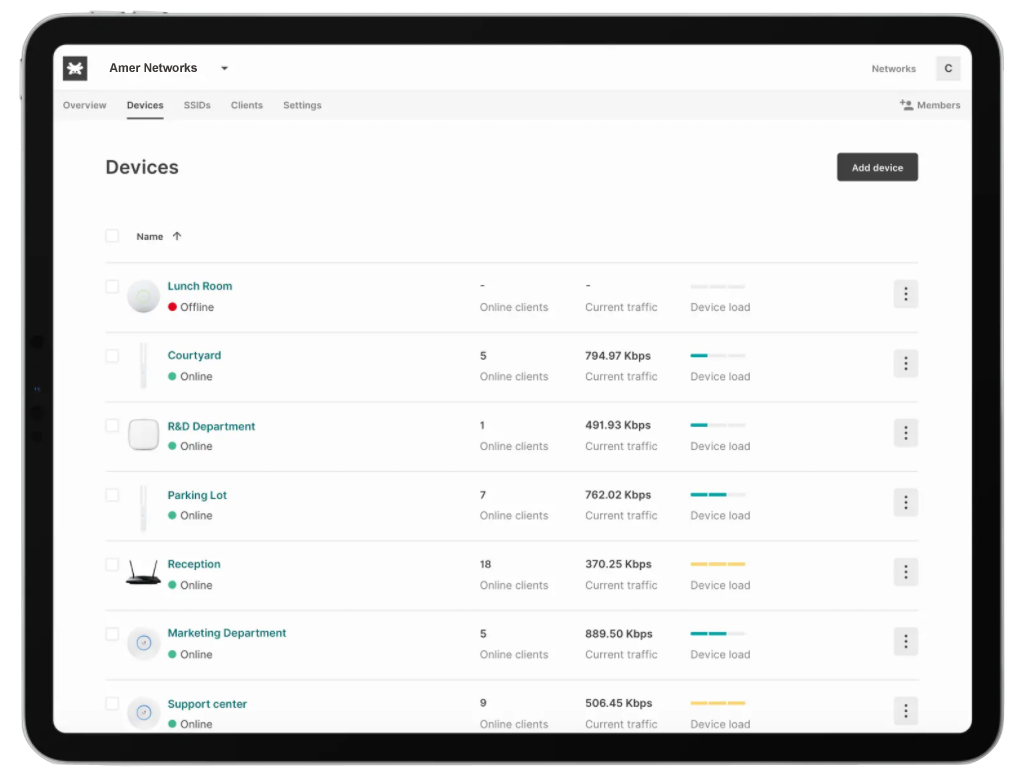
Once you create a Network, you will be asked to add the first access point. You can add a brand new access point to your Organization or select one from the Inventory. The Inventory is the place in the Tanaza platform, where you can store your access points while not using them.
You can also add an offline device to your network. It will be automatically synchronized with the network’s configuration, as soon as it goes online.

Step 4
Create a WiFi SSID
Create and associate a WiFi SSID
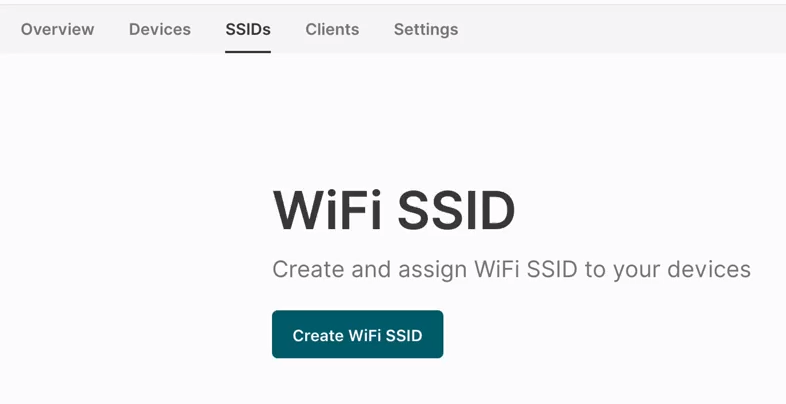
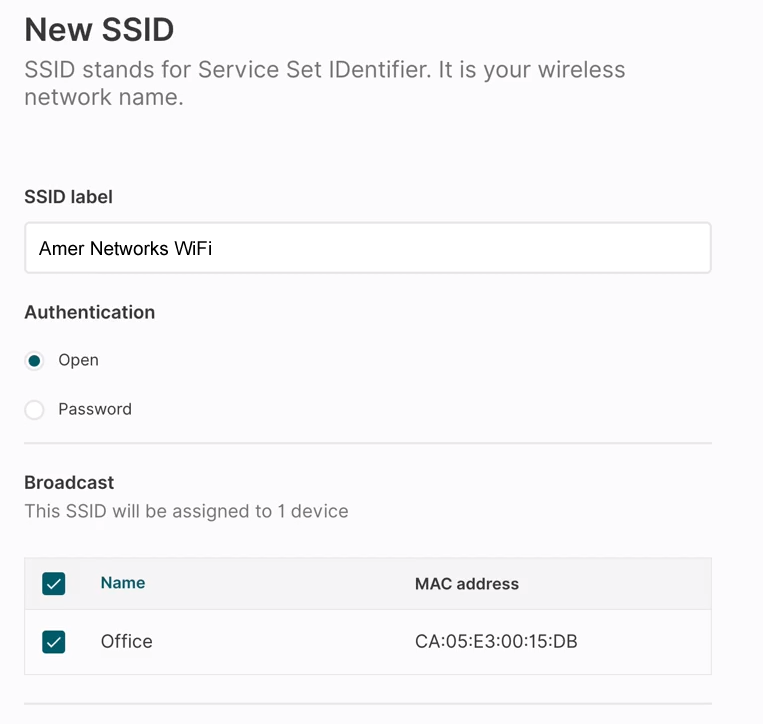
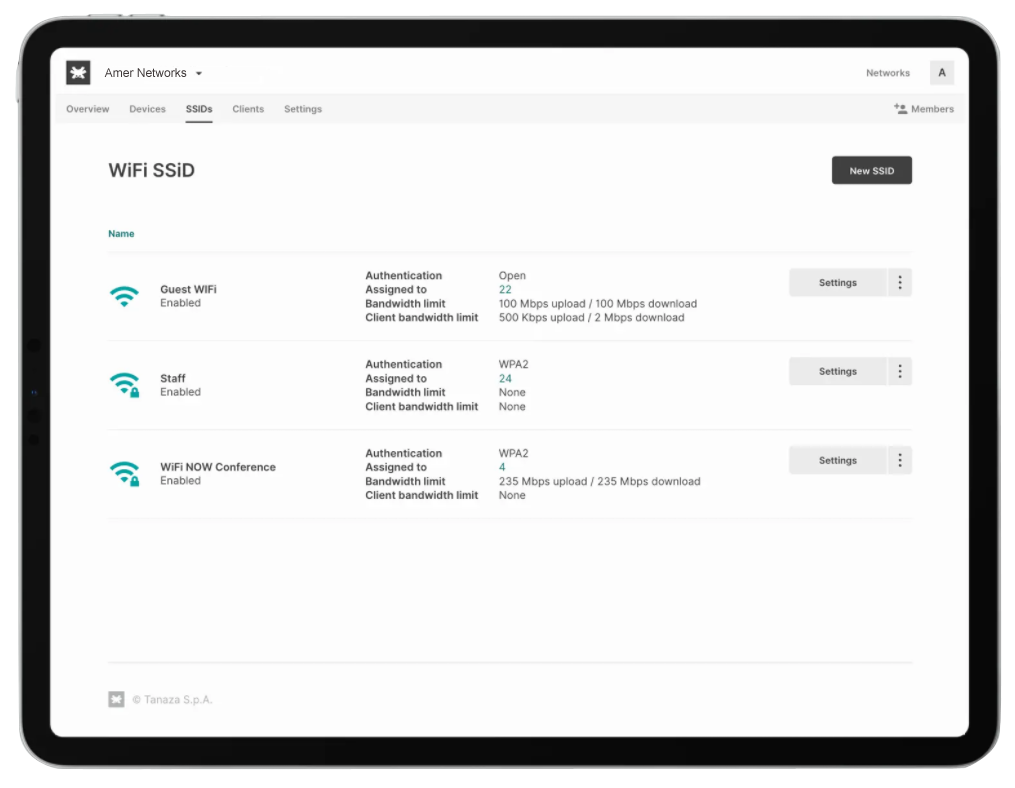
From the main network menu, go into the SSIDs section, and click on “New SSID.” After you create the SSID, add a label name, select an authentication method, and choose which access points in the network will broadcast the SSID.
By default, this will be transmitted to all the access points within the network. After creating the SSID, you can also edit general settings, such as Client IP assignment (NAT or Bridge mode), bandwidth limit, and security settings, like client isolation, band selection, and many more.

Step 5
Invite Members
Work Together with your Collaborators
Invite collaborators to join your networks. To add one or more collaborators to your networks, click on ‘Members’ in the top right corner of the menu bar.
Extend the control of your deployments to more people and simultaneously manage the roles assigned to each of them. You can also set permission levels that allow new collaborators to configure or view specific networks.


